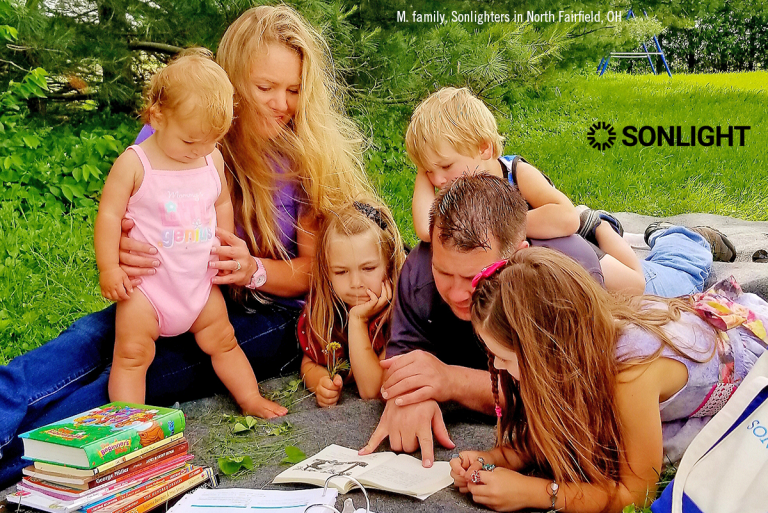
"Thank you, Sonlight, for making homeschooling so doable for our family and so rewarding to my mother's heart! We just can't put a price tag on our joyful moments together!"
The M. family of North Fairfield, OH
We began our Sonlight journey when my oldest was in second grade, so we started on History / Bible / Literature (HBL) B & C: Intro to World History, Condensed. To this day, it is still one of my all-time favorite levels of study. There’s probably some nostalgia involved in this bias, but my love of Level B &C also was the beginning of a whole new philosophy of learning.
Until that point, I believed that it was my job to shelter my children from the evils of the world. I would even shy away from Bible stories that had less-than-happy themes....and then we began reading the World History book in Level B &C. It was a great book, but I must say that I was very tempted to cover up naked bodies and soften the blow of some of the more difficult parts of history. I resisted the urge though, and I am so glad that I did.
Later, my resolve was once again tested particularly in HBL D. We began the book, Incans, Aztecs, Mayans, and I wasn’t so sure about any of it. Within the first few chapters, we had already covered human sacrifice. Human sacrifice. Once again, I am so thankful that we forged ahead with our study. Our kids are better for having read this book.
We haven’t shied away from difficult topics now in seven years, and here’s why I am thankful that we made the choice to tackle these topics head-on with the help of Sonlight.
1. If We Don’t Talk To Them, Someone Else Will
My husband and I have long believed that if we don’t talk to our kids about the tough stuff, someone else will. Most likely, it will be a peer with a differing worldview, who is badly misinformed. We’ve found that kids love to talk to kids about topics they know nothing about. So we decided that it’s best if we take a proactive approach to difficult topics.
Sonlight helps us do this. The many Read-Alouds give us plenty of opportunity to explore these topics with our children. We have found that our children feel confident when presented with tough topics elsewhere, and are able to vocalize their thoughts and opinions on these subjects with grace and a good measure of wisdom for their age.
2. If We Sugarcoat History, It Will Repeat Itself
I was so happy a couple of years ago when we started HBL F and discovered the book, Breaking Stalin’s Nose. As we made our way through this masterfully woven story, we pondered the difficulty of standing up for what’s right against a frightening authority. We talked about how easy it can be to become sucked in to an agenda rather than truly evaluating the morality of the situation.
We have read plenty of books through our Sonlight programs that have taught us the importance of evaluating right from wrong. This skill helps children to make wise decisions in our world. History has already repeated itself too many times throughout the cycles of our world. In order to stop these cycles in our own children, we need to study history closely—the good, the bad, and the ugly—and teach our children the mistakes of history so they can be avoided.
3. Kids Aren’t Stupid
In the last few years, many experts have advocated to end to baby-talk. Experts have found that children’s language skills develop best when babies and toddlers are spoken to often and correctly, not using baby-talk.
I would argue that this same thought applies to children of all ages. Children aren’t stupid. They don’t need us to dumb down history or water down death. When we read Sadako and the Thousand Paper Cranes, there was a point when I thought, “Why am I doing this to myself and my children?” But then, I looked up and saw their faces, and we started talking about it. We talked about the sadness of the story. We talked about the joy Sadako held on to despite the pain. We talked about the consequences of the atomic bomb. And I realized that my kids were better for hearing that story.
Kids can handle much tougher subjects than we think, especially in the safety of their own home.
There is value in introducing these topics in stories as children can explore those worlds emotionally while not being physically immersed in them.
4. Evil Exists
If we ignore that evil exists, our children will experience culture shock when they get out on their own. As homeschool parents, we need to give an honest presentation of evil in our world by tackling difficult subjects. The acknowledgement of evil gives us a platform to share the gospel.
We need to express to our children our need for a Savior. We need to stress these truths:
- We are no better, no different, from any of the people in the stories we read.
- We are all easily swayed by evil.
- We all have that natural bent toward sin.
- We are all guilty and deserve death.
- We need Jesus.
5. Difficult Books Produce Compassionate People
Introducing painful stories in a place of comfort and safety helps children to develop compassion for the people around us every day. We can all see ourselves in these stories we read. Good books with rich, realistic struggles can help produce compassion in us. Placing ourselves in the position of the characters, we are able to experience every angle of a story. This reminds us that we are all in a different place in life, and we all need compassion.
After reading The Hundred Dresses by Eleanor Estes, our children immediately became more conscious of the effect of their words on others. They developed a tremendous amount of compassion through that story. They also saw an example of true repentance.
There are certainly times when we should use discretion with our children. Ultimately, it is your decision on what your child can or cannot handle. I had a couple of sensitive children, and I always spent a little extra time with them on these tough subjects.
Occasionally, I did do some censoring when I felt that it was just a little too much for them. So, please know that I am not condemning parents who choose differently.
However, it is my goal to encourage you not to shy away from those difficult topics. Instead, be proactive and be honest with your children. They will see your transparency and your trust in them and their ability to handle it, and they will appreciate you for it. Cry with them when the world is evil and rejoice together when you see the good in people. This is the best life skill we can give them.
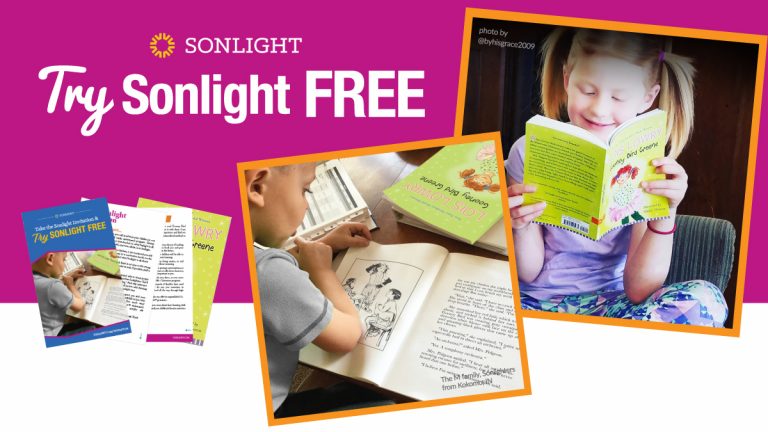
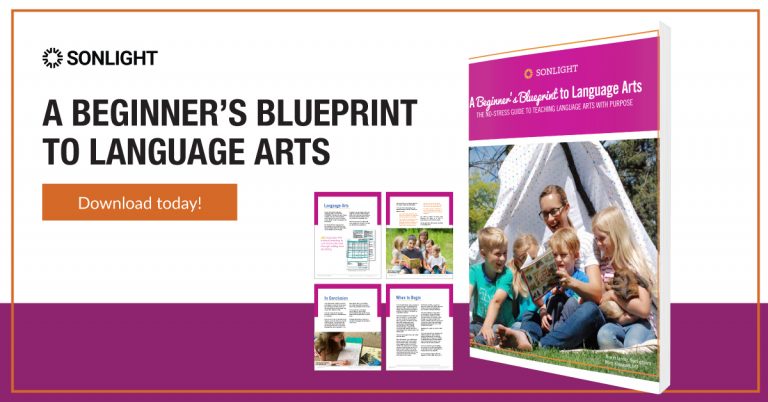
With this free sample, you’ll experience what it's like to use Sonlight–the books, the schedule, and the notes.