Reading is the academic building block for every other subject and is often used as the primary standard when evaluating how well a child is doing in school. But deciding how (and when) to start can be difficult. There are so many great reading programs out there, and they all teach so differently.
Despite these facts, teaching reading doesn’t have to be so frustrating and intimidating. Here are six nuggets to keep in mind when you start teaching your child to read.
1. Start with Pre-Reading Basics
Just like your child learns to walk by first holding up their head, you can also teach pre-reading skills very young.
Reading Aloud
Research shows that being read to daily improves reading abilities later on by developing vocabulary, listening skills, comprehension skills, and phonemic awareness.
Close Up Play
Close up work builds eye muscles and the visual discernment needed for reading. Encourage pre-reading skills with these activities:
- Modeling with play dough
- Cutting and pasting
- Working puzzles
- Solving mazes
- Sorting objects
- Playing matching games
Distance Play
Distance work develops the eye muscles for depth perception. Examples of activities include:
- Climbing
- Throwing/catching
- Playing on monkey bars
Children this age learn best through playing, so allowing them to play will also build their reading readiness skills.

2. Teach Letter Sounds
Letter sounds are the basic building blocks of reading.
- Watch a LeapFrog Letter Factory or Alphablocks video a few times.
- Add in letter awareness and pre-reading books like Fun Tales from Sonlight’s Kindergarten program.
- Work through the Explode the Code ABC books found in LA K.
Focus on teaching the sounds the letters make, not the name of the letter. For example, when reading cat, use the sounds, not the letter names. Say “k-ah-t,” not “see-ay-tee.”
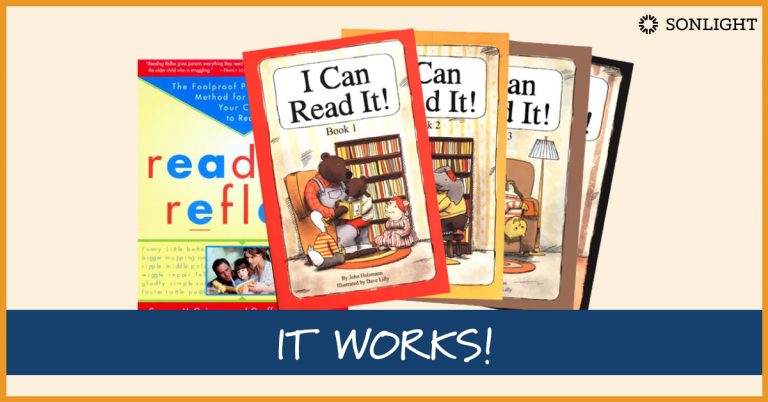
3. Use a Reading Program
Not all children need reading programs, but it is more difficult for many children to learn to read without some instruction. Reading programs are designed to be easy to use and teach in a logical, structured manner that's superior to the trial and error method many children naturally use.
If you aren’t sure whether you need a program to teach your child to read at home, I would advise using one. If your child breezes through with little effort, you’ll feel better knowing you didn’t leave any gaps. If your child begins to struggle after hitting some confusing reading rules, you’ll appreciate having a program there to guide you through.
Should you decide you’d like to try teaching reading without a program, prepare yourself with a book like The Three R’s by Ruth Beechick.
4. Expect Plateaus
Many parents find that their child does well with letter sounds but struggles with putting them together. Or they read well but later seem to stall or hit a wall.
If your child is struggling to go from one reading skill to the next, don’t worry. Shelve the materials, work on easy skills for a while, and come back later on. Some children need a few weeks or months to develop their brains between skills just as some children need time to go from standing to taking their first steps on their own.
5. Expect Regressions
Learning isn’t organized and linear; in fact, it's usually sporadic and even chaotic. Children often experience regressions in ability, inexplicably moving backward in skill. When you are teaching a child to read at home, one day they might be reading well, and the next day they are crying the work is too hard.
One reason for regressions is the brain sometimes redirects power to other areas during certain seasons. For example, it’s hard to focus on trivial details after a traumatic event. Another illustration: people watch television to distract themselves from worry or stress. The brain likes to focus on one main task at a time. You may be asking your child’s brain to learn about reading, but their brain is telling them, “Let’s learn everything there is to know about how trains work” or “Wouldn't it be way more fun to learn about the periodic table?”
Regression is often a sign your child is reaching their cognitive limit and they need more time to develop before progressing. The good news is that re-learning what seems lost is usually fairly easy.
6. Let Kids Read Below Their Ability
Parents sometimes feel alarmed when a child is advanced in reading but only wants to read easy books below their ability. My response is, “That’s great. Let them!”
Reading for fun, below maximum reading level, is a great way to reinforce a variety of skills:
- word recognition
- fluency
- vocabulary
- comprehension
Reading easy books is just as important as reading harder books. I can easily read at a graduate school level. But I would get very bored and frustrated if that were all I was allowed to read. I can enjoy and learn from both college textbooks and my favorite childhood classic.
Some easy-looking books are deceptively difficult, hiding educational material, large vocabulary words, or a lot of content broken up by pictures to give the eyes a chance to rest. Don't be afraid to use these books if they encourage your child to read.
As for children who learn to read young and advance quickly, but later stall out, it gets hard to remember that they are really just little children. The 5-year-old who reads at a third grade level doesn’t really need to worry about 4th grade reading for at least 4 more years yet, and by then, they’ll likely be well beyond that level anyway.
Being the parent of four dyslexic children, I recognize that not all children are easy to teach, and some do require more effort than others. But it’s better to wait for a child to be ready to read than to push ahead until they get frustrated.
It’s a fine line to walk. If you would like advice from someone with years of experience, reach out to a Sonlight Advisor. She can help you recognize signs of reading readiness and choose the best materials to guide your children into successful reading.