I have very fond memories of cutting paper snowflakes around our dining room table the weekend following Thanksgiving. This was just one of many traditions that wound their way through our holidays every year. In addition to holiday decorating traditions, many families add Advent activities to the weeks leading up to Christmas. What a wonderful way to add depth and understanding to the true purpose of your holiday celebrations.
When my children were young, in addition to Advent activities, I taught them the simple craft of cutting paper snowflakes and shared in their excitement as they began to “officially” decorate for Christmas each year. If you would like to teach your children how to cut paper snowflakes, follow along with the video tutorial. The possibilities are endless … colored paper, glitter, markers … you can be as creative as you like!
Step-by-step paper snowflake instructions
For those who prefer to read how to make these paper snowflakes, follow the instructions below.
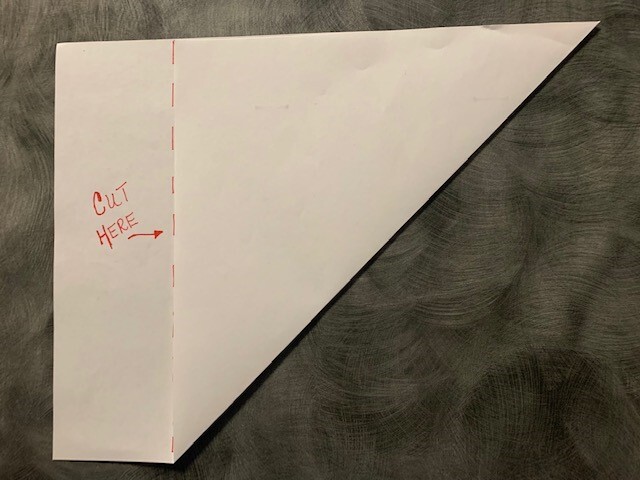
1. To begin, you need a square piece of paper. Simple copy paper works great! You can also use heavier construction paper or card stock. You can make a square from a rectangular piece of paper by folding one corner down to form a triangle and trimming off the excess paper.
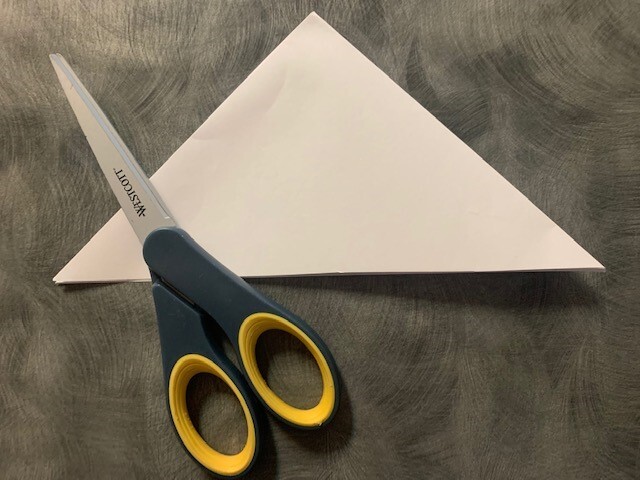
2. Fold the square in half diagonally to make a tringle.
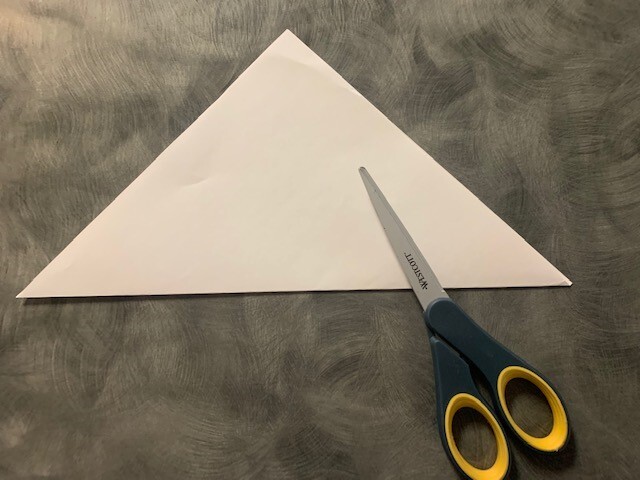
3. Fold the paper in half again to make a smaller triangle.
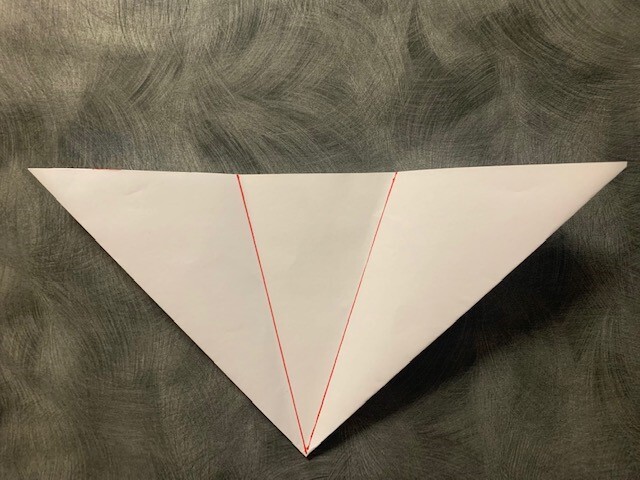
4. Then, picture the triangle in thirds. Fold the right third over, then fold the left third over, dividing the small triangle into equal thirds.
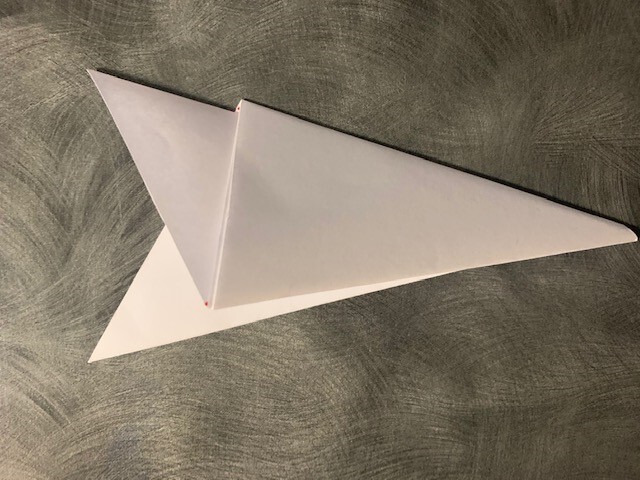
5. Fold each of the outer two thirds over the middle.
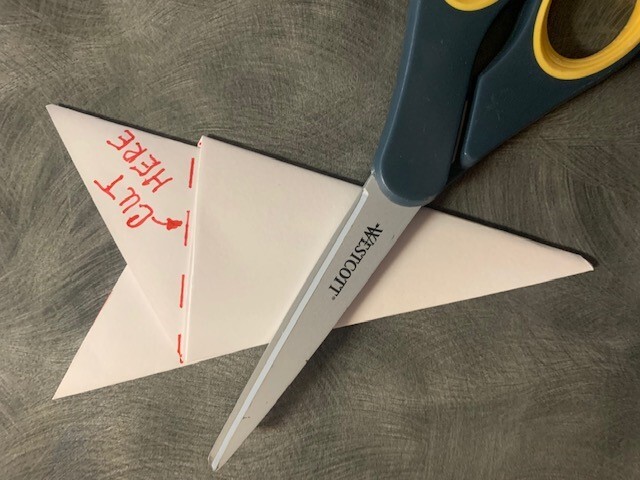
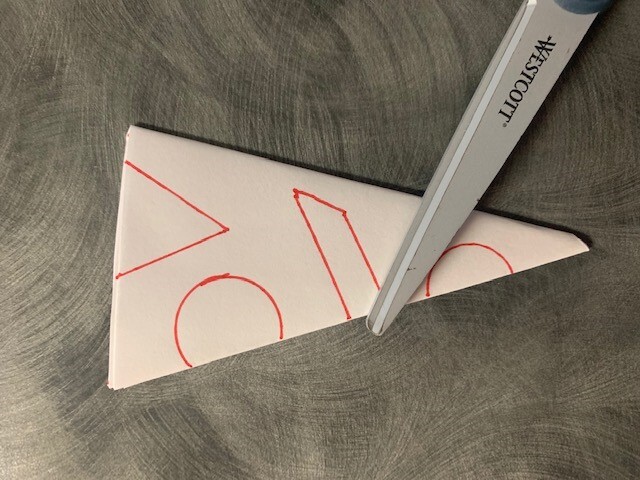
6. Finish by trimming off the bottom points by cutting along the horizontal edge.
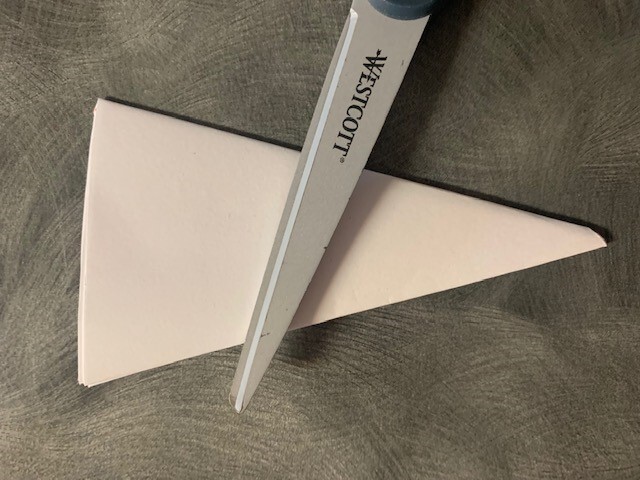
6. Now you can create your design by drawing circles or lines on the remaining folded paper. Before you cut out your design, be sure that you keep some of the folded edge intact, or your snowflake will fall into pieces. Once you are finished cutting, carefully unfold the paper to reveal your snowflake.
7. Add color or glitter or any other decorations you can think of to make your snowflake as unique as you!
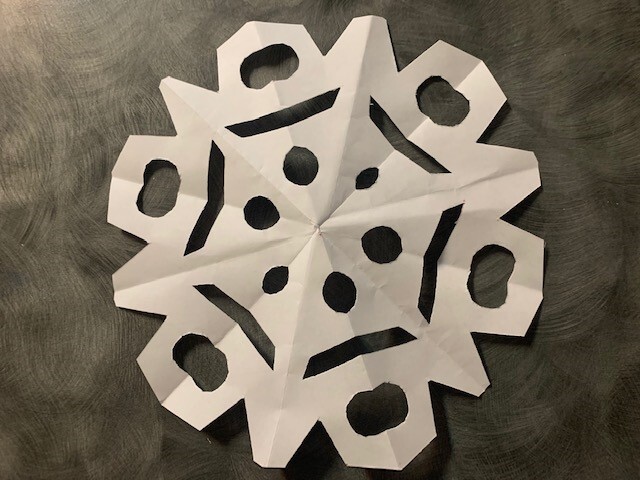
No two snowflakes are the same, so remember to have fun with your designs. Use your completed snowflakes as package decorations or glue a loop of string to one of the points and hang them around your house.
Three Advent Unit Study Kits
Each kit comes with a novel, discussion guide, activity ideas, recipes, and many of the craft supplies you'll need.