Every single morning, I do the same thing. I do it almost without thinking as I am usually still half, if not fully, asleep. I go to the bathroom, change into the clothes I laid out the night before, brush my teeth, put on my makeup, and fix my hair for the day. Then I head to the kitchen to pour a cup of coffee to drink while I pray and study my Bible. This has been my morning routine for years, and it just so happens it’s my favorite part of the day. There is something incredibly comfortable about routine and rhythm in life. It provides a familiarity that sets our minds and hearts at peace.
Being such a creature of routine, I always find it odd that I often forget how much routine means to my children. This is why I am caught off guard when my children fall apart on the rare Monday night that I don’t make spaghetti. For the last five years, Monday night is our family spaghetti night, generally followed by card games or a round of dominoes. For the last five years, my family has almost declared mutiny on me when I decide to use rotini pasta instead of spaghetti noodles or use alfredo sauce instead of my usual spaghetti sauce. You would think that I would learn, right?
With routine clearly being a powerful force, it seems that we should channel its power for use in our homeschool. So let’s look at a few ways that we can use the power of routine to maximize our homeschool.
1. Establish Morning/Evening Routines
Just like me, my children day need a clear signal to begin and a clear signal to end the day. Morning and evening routines give us natural bookends for our day that provide non-verbal cues and prepare our bodies for the day or for sleep. One of the things that I love so much about homeschooling is that it provides a perfect opportunity for a morning routine.
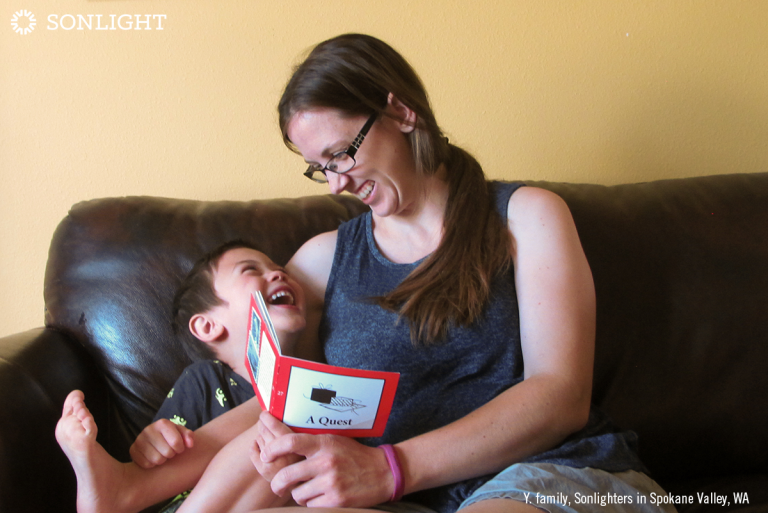
For seven years now, my family has been gathering in our common area for Couch Subjects™ first thing in the morning. It is such a wonderful way to begin the day. Bible reading, prayer, History, and Read-Alouds...I can’t think of a better start. After our Couch Subjects™, I don’t have to say a word. My kids know that is their cue to begin their schoolwork. In the evenings, we gather in the same place for evening prayer. From there, we go to bed.
When you begin a morning or evening routine, you’ll need to practice it often. Try holding a family meeting to introduce the idea of how mornings and evenings will go. Make a poster, listing the steps if needed and post it in a visible area. Then have your children do a dry run through the routine multiple times. It will seem silly to practice airbrushing your teeth, but it will probably end with plenty of giggles. The practice does wonders for making brain connections that assist in establishing the new routine. The first few weeks though, you’ll need to stay close during routine time to make sure they are completing their routine correctly. After a while, you’ll be able to just ask if they have done their routine, and eventually, the goal is to have them run through it completely independently with only the occasional refresher needed.
2. Introduce a New Habit by Attaching it to a Routine
If you need to add a new habit into your child’s routine, attach it to an already existing routine. For example, if you want your child to take out the trash every day, you can’t expect him or her to just notice when it gets full. Believe me, I have tried that, and it doesn’t work. I’ve actually tried seeing how long my kids will let it go before noticing. I highly discourage your trying this. It ended with us having a trash corner instead of a trash can!
Instead, attach the new habit to an existing routine. Have your child take the trash out after breakfast every day. Since you eat breakfast every day, it’s an already established routine. Simply remind him to grab the trash after he puts away his dishes, and before long, you will find that you don’t have to remind very much any more. Eating breakfast will give him the cue he needs to remember the trash.
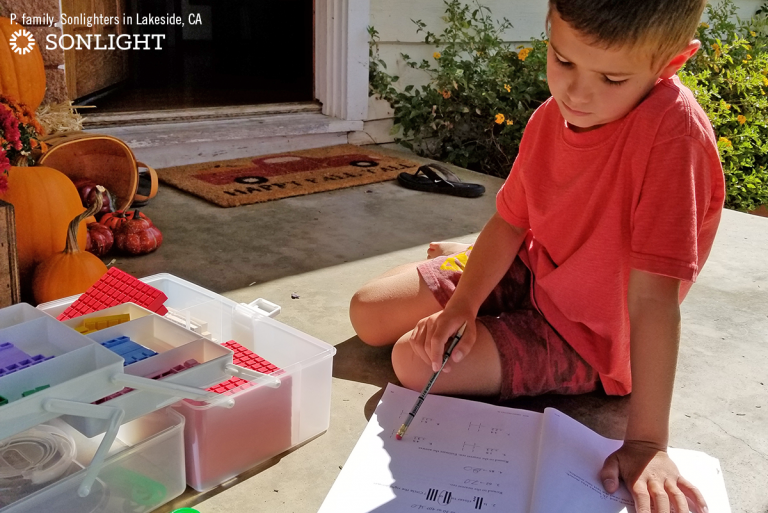
You can do math drills at every stop light or silent reading every day after lunch. Put your daily medicine on your nightstand. There is no end to the applications here. Apply the power of routine.
3. Create Memories Through Routine
For the first several years of our homeschool journey, we created an interesting lunch routine. I found that by lunchtime, I had endured about as much togetherness as I could handle, and my introverted self needed a little break from the chatter. So, I decided that lunchtime would be perfect for a living room picnic. That began our daily routine of lunch and Lucy. We would spread out a blanket on the living room floor and watch an episode of our favorite TV show, I Love Lucy. We would eat and giggle and replenish ourselves for the remaining stretch of the day. We are now usually at our co-op during lunchtime, but to this day, my kids absolutely love having a living room picnic at lunchtime.
What routines can you establish to create memories? Maybe you can have tea time once a week where you pull out the fancy (or even not-so-fancy) dinnerware and have tea and pastries. I recently read a comment from a fellow Sonlight mom who uses Explode the Code. After doing their ETC work each day, she and her child make an explosion noise—so simple and yet so sweet and memorable. It doesn’t have to be anything complicated, and chances are that you are already implementing a memory-creating routine at some point in the day. That’s what homeschooling is all about!
4. Use Routine to Drive the Day
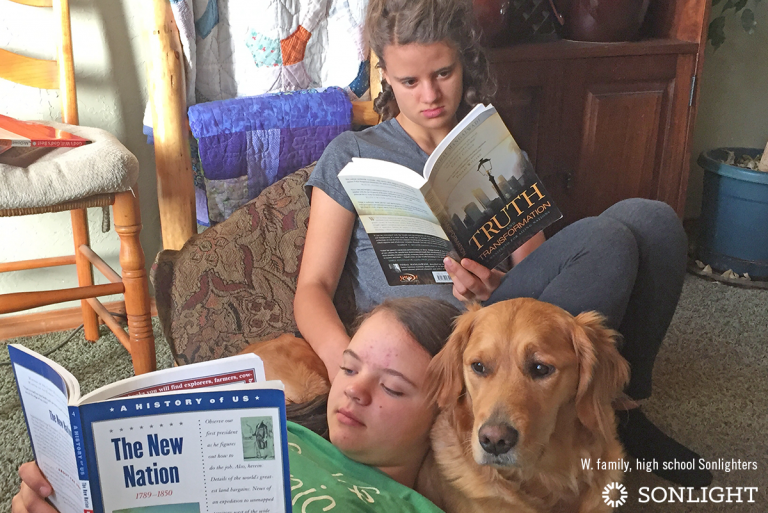
I am naturally a routine-oriented person. In fact, my husband has to force me to be spontaneous. So without really thinking much about it, I have implemented a routine for my kids throughout the day. They basically know what is expected of them next without me really saying much at all. This is because our routine drives us forward through our day. One thing naturally leads to another. I’ve even found that my children establish their own micro-routines that fit within our family routine. My oldest starts his work with reading, then he goes to language arts and then to math. My daughter does the opposite. She starts with math and likes to finish up with her reading time. Each of my children are different, but they all have their own personal routines that drive them through the day.
Think about your day, and consider the most logical flow for your family. It will almost definitely be at least somewhat different from mine, but here is our daily flow:
Morning Time/Couch Subjects→Independent Work→Break Time→Read-Aloud & Morning Snack→Independent Work→Lunchtime→Break Time→History & Science→Daily Work Check and Clean Up
You do not have to assign times to these sections of your day. Simply establish a logical flow that helps drive your children to the next part of the day. This natural flow will help your child get their work completed and feel comfortable through the predictable routine you have established for the family.
Routine is truly a powerful tool for homeschool moms. You probably don’t even realize how much you already use routine in your day. I would encourage you, however, to make sure that you are utilizing it to its fullest potential. The Bible says in Luke 16:10a, “If you are faithful in little things, you will be faithful in large ones.” Let’s teach our children to be faithful in the little things with the help of routines.