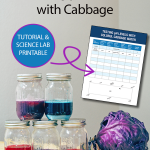
Acids and bases are common knowledge in our culture, so much so that the term litmus test means not simply to test for pH level, but also to make a determination on whether or not something—or someone—is acceptable. It’s interesting how these terms make their way into our vernacular, isn’t it?
Most pH tests in kids’ science courses are done with litmus paper, but you can also assess pH levels using red cabbage. Creating an acid-base indicator out of cabbage leaves is just one of the many exciting hands-on activities scheduled in Janice VanCleave’s classic book Food and Nutrition for Every Kid, a favorite from Science F: Health, Medicine and Human Anatomy.

Science F
Health, Medicine, and Human Anatomy for ages 10-13
Create an Anthocyanin Indicator from Cabbage Leaves
Does it strike you as odd to use red cabbage to create a pH indicator? It’s no less strange than how extracting dye from lichen, which is how litmus paper is made. (Yes, lichen! Thankfully, cabbage is much easier to obtain.)
Materials needed for step one:
- 1 head of fresh red cabbage
- Distilled water
- Blender
- Scissors
- Sieve or strainer
- Large bowl
- Large beaker, jar, or pitcher
(Scroll down to see what additional supplies you’ll need for step two, when you begin testing the pH levels of various items.)
Activity Instructions for Step 1
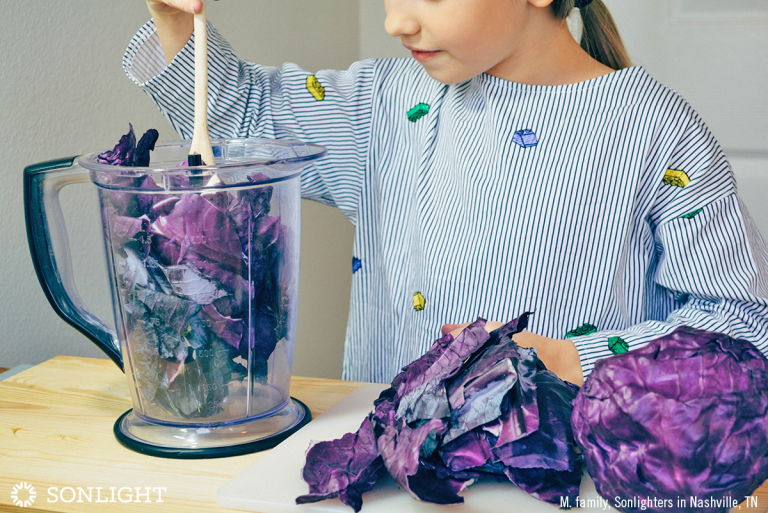
To create the indicator liquid, first remove a dozen leaves from the head of cabbage.
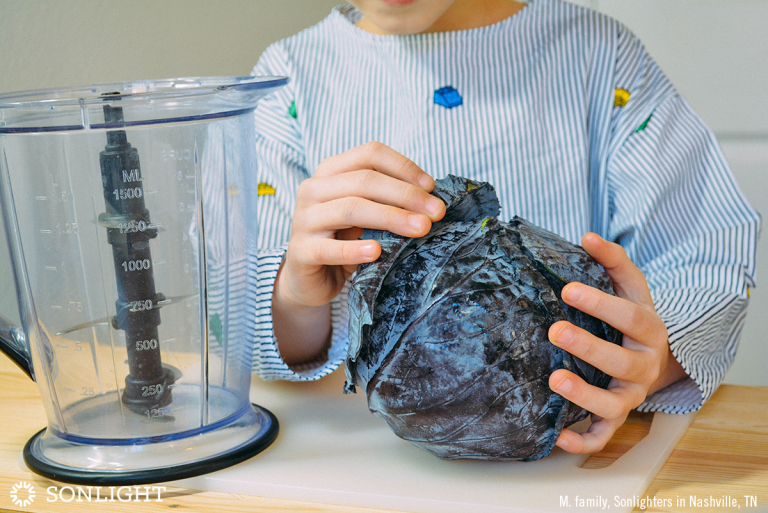
Use scissors to cut up the leaves, then place all the pieces in the blender.
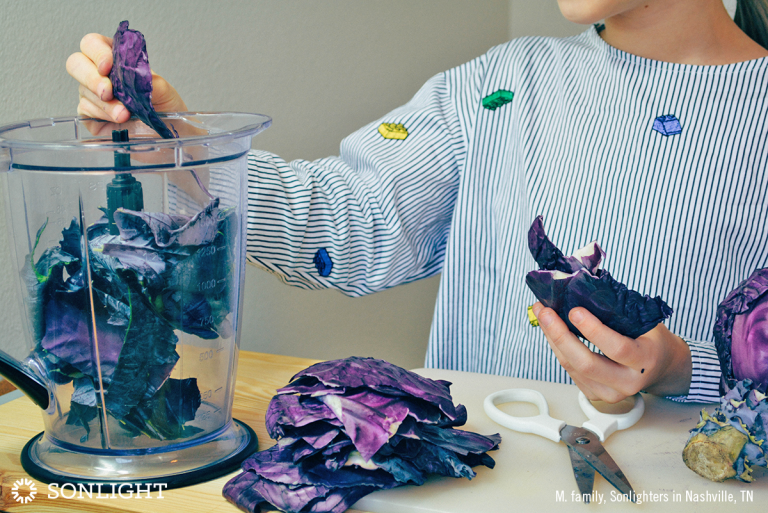
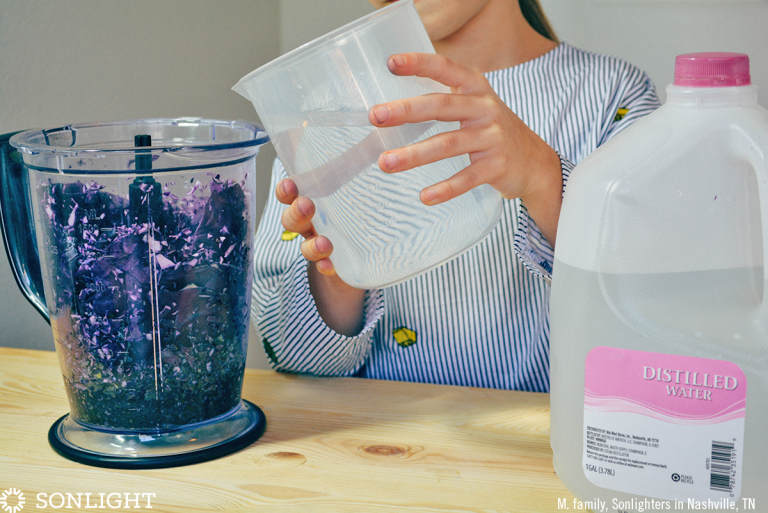
Pour distilled water into the blender until the pieces are submerged.
Blend. Strain the resulting mixture into a large bowl.
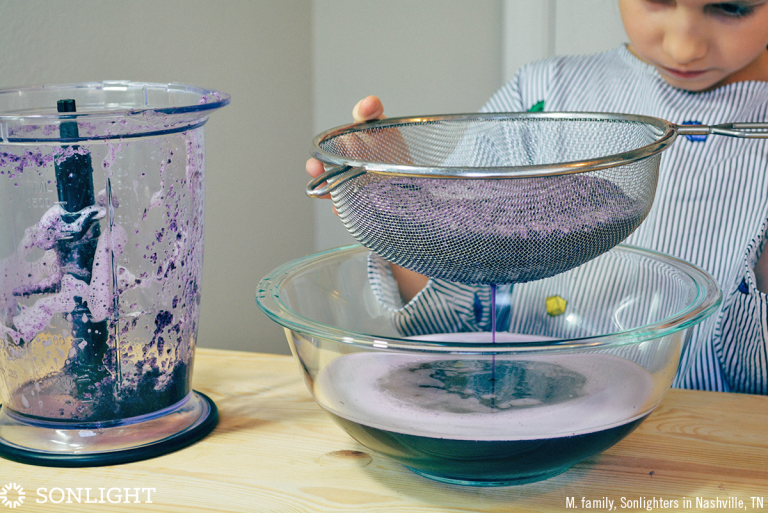
You won’t need the cabbage pieces in the strainer anymore, but the violet-purple liquid is now your anthocyanin indicator. Exciting! Transfer to a beaker or pitcher if desired, for easy pouring.

Why distilled water instead of tap water from your faucet? Distilled water is more likely to have a neutral pH. Since the anthocyanin indicator needs to have a pH as close to neutral as possible, this is important. You can try seeing how tap water affects pH by creating one batch of anthocyanin indicator using distilled water, and another batch with tap water. Are the colors the same?
What Exactly is Anthocyanin?
We’ve used this word a few times now. What does it mean? Anthocyanin is really just a big word for water-soluble color. We see anthocyanins in all sorts of
- red,
- blue, and
- purple
foods such as
- berries,
- purple maize,
- blue potatoes, and yes,
- red cabbage.
What makes anthocyanin such a fascinating pigment—and so ideal for this acids-base experiment? It changes color depending on its acidity or alkalinity!
If you’ve observed hydrangeas, you’ve seen this principle in action. Gardeners can manipulate the color of hydrangea blooms from pink to blue by changing the soil from neutral to acidic. Of course, unlike the instantly-visible results we’ll be seeing in our experiments today, hydrangea plants react much more slowly to changes in pH. (As a fascinating aside, hydrangea color actually depends on aluminum. Acids and bases in the soil make the aluminum more—or less—available.)
But let’s get back to our head of cabbage.
Testing Foods for Acidity With a Cabbage-Based pH Indicator
Now it’s time to use the anthocyanin indicator we made from cabbage to test various foods and household materials for acidity.
Materials needed for step two:
- The anthocyanin indicator liquid you previously made
- At least five small glass jars or containers with lids
- A lemon
- A tomato
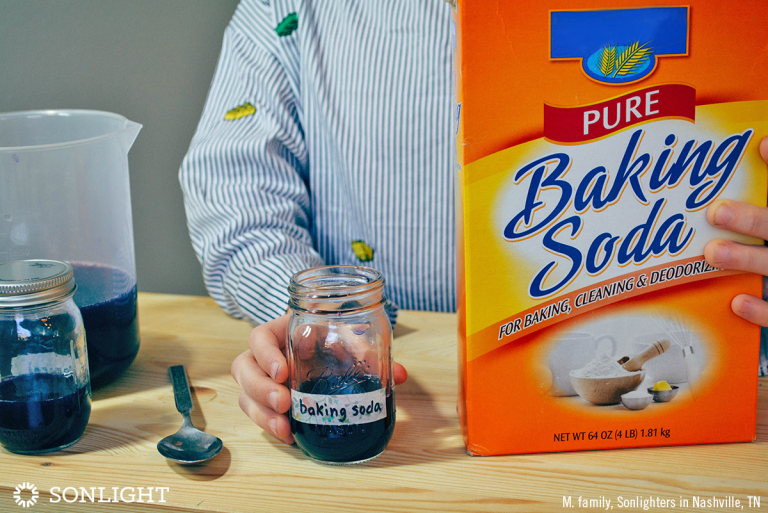
- Baking soda
- Vinegar
- Several cutting boards and knives
- Masking tape
- Marker
- Optional: Additional foods and materials to test
Activity Instructions for Step Two
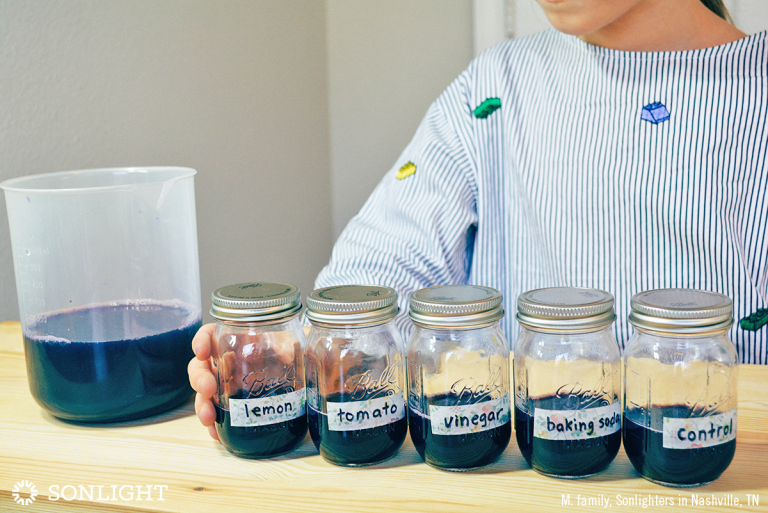
Label the clean, dry jars as follows: control, lemon, tomato, baking soda, vinegar.
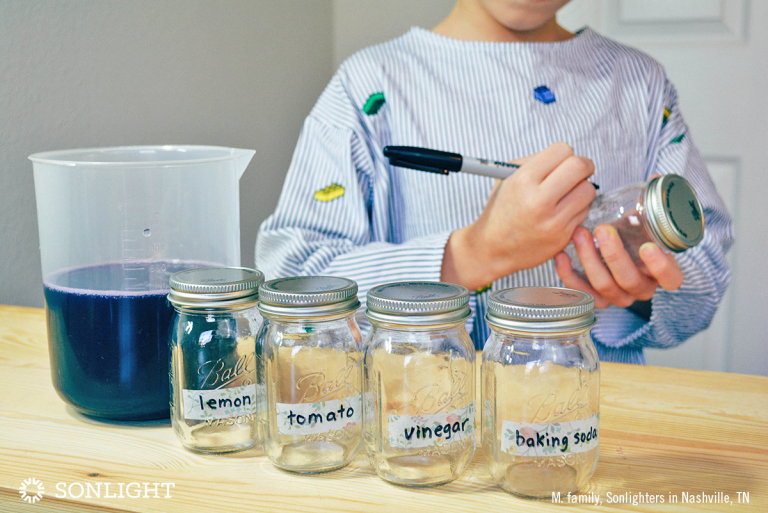
Pour a roughly equal amount of anthocyanin indicator into each labeled jar. Reserve some liquid in case you want to test additional items—or in case you make a mistake.
Now take a moment to download the accompanying lab sheet and jot down what you’ll be testing. Don’t forget to make predictions. Do you think a tomato is going to be acidic, or basic? What about a slice of lemon? Baking soda? What color will the indicator liquid become? Record your guesses for each. (Optional: If you wish to experiment beyond the four items specified, you may collect additional jars and household substances, list the substances on the chart, and proceed in the same way.)
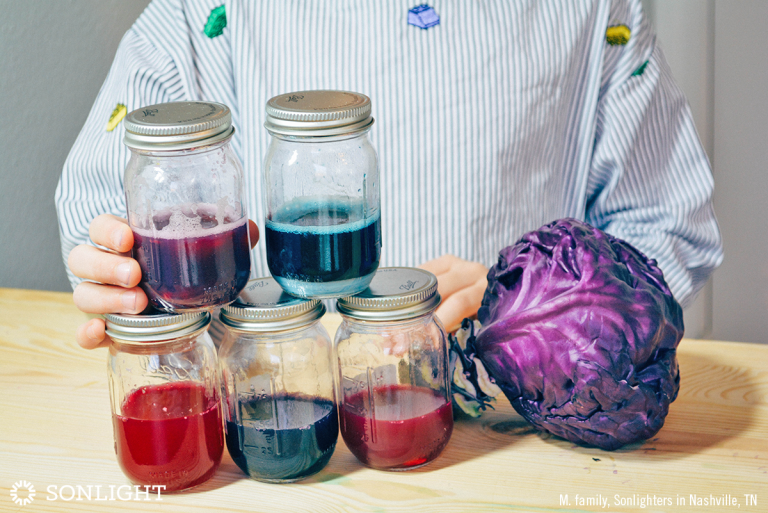
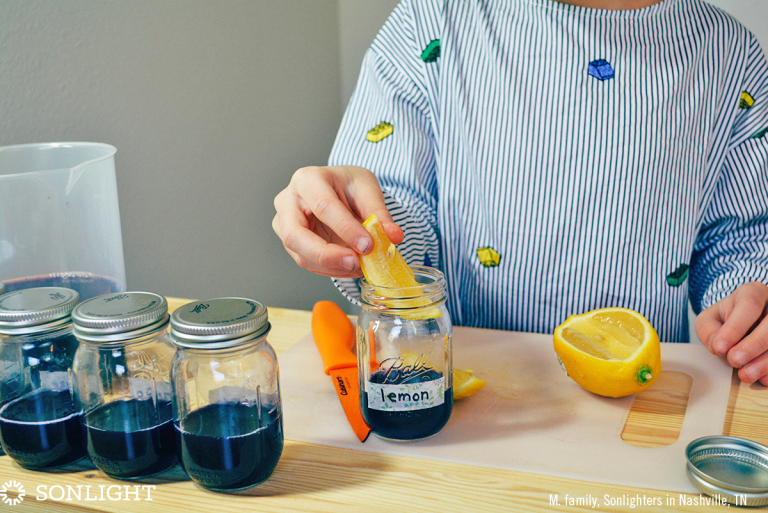
Use a clean, dry cutting board and knife to slice a wedge of a lemon. Squeeze lemon juice into the jar labeled lemon, then drop the wedge in the liquid, too. What color is the indicator liquid? Cap the jar securely and shake well, then observe again. Has the color changed or deepened at all? Write down your observations.
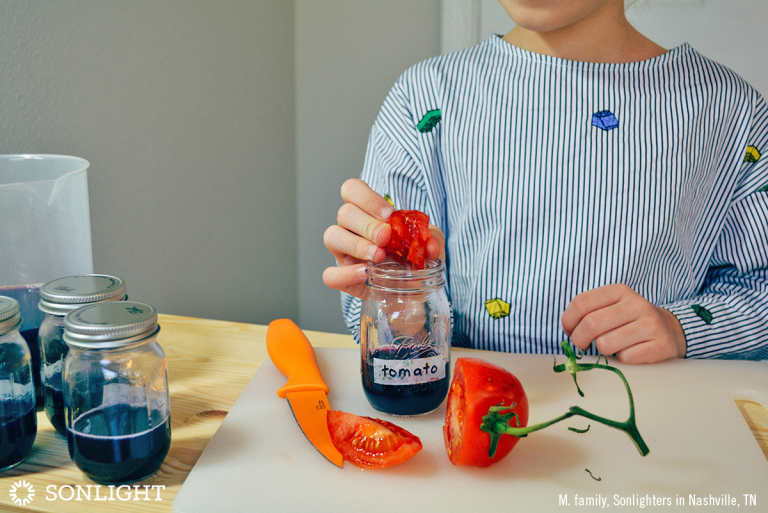
Repeat the process using a wedge of tomato. (To avoid confusing results due to cross-contamination, wash your hands first, and use a clean knife and cutting board.) Observe and record the color before and after shaking.
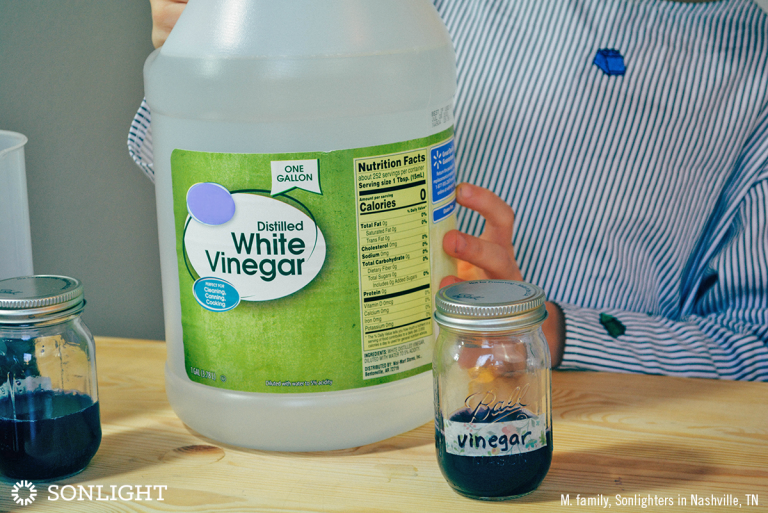
Pour a splash of vinegar into the indicator jar marked vinegar, and jot down your findings on your lab sheet.
Again using clean hands and equipment, add a spoonful of baking soda to the appropriately-labeled jar, and observe. What color do you see? Record your observations. Does this color indicate an acid or a base?
(If you opted to test food items beyond these four, complete the additional experimentation now, taking care to ensure no cross-contamination. Don’t forget to record what happens!)
Why Does the Color of a pH Indicator Change?
It’s satisfying to see a natural palette unfold, but why does this happen? When we introduce an acid to the indicator, a chemical reaction takes place and the indicator liquid is now more positively charged. But we introduce a base, the resulting chemical reaction means the cabbage water carries a more negative charge.
As the substance dissolves and the water molecules in our indicator
- gain H+ ions to become acidic or
- lose H+ ions to become more basic,
the overall molecular structure changes somewhat. That’s all very interesting, but what does it have to do with the color change? Intriguingly, these changes in molecular structure affect light rays—and light influences how we see color!
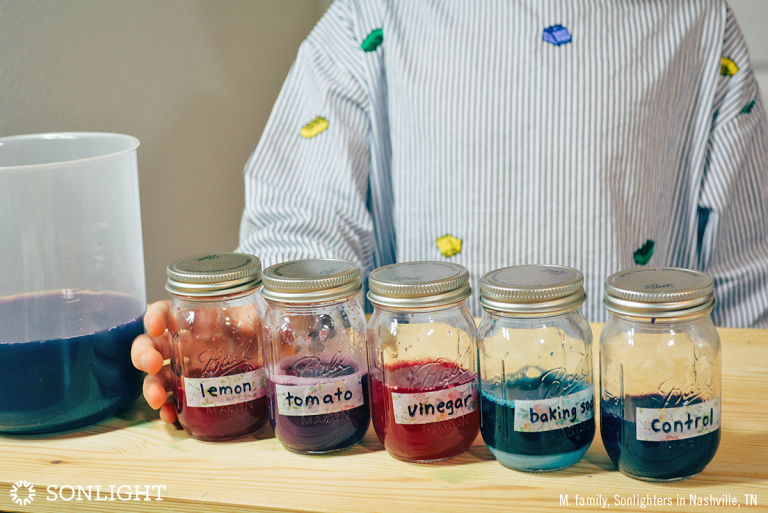
The contrast is perhaps most obvious when we compare baking soda and vinegar. The light interacts much differently with the structure of the base (baking soda) than it does with structure of the acid (vinegar). As a result, the color our brain and eyes observe in one are nowhere near the same as the color we see in the other.
Playing with food is fun, isn’t it? It’s even more fun when we get to explore the science behind it all, like we did in this experiment. Science F guides upper elementary and middle school students through big topics in Health, Medicine and Human Anatomy, maintaining a playful feel with fun experiments and demonstrations. And punctuating literature-based learning with these hands-on projects creates such a memorable and meaningful learning experience!
Download a free Science Lab Printable for recording your own kitchen chemistry experiment with pH.
Download your free Science Lab Printable for recording your own kitchen chemistry experiment with pH.
Download Now!